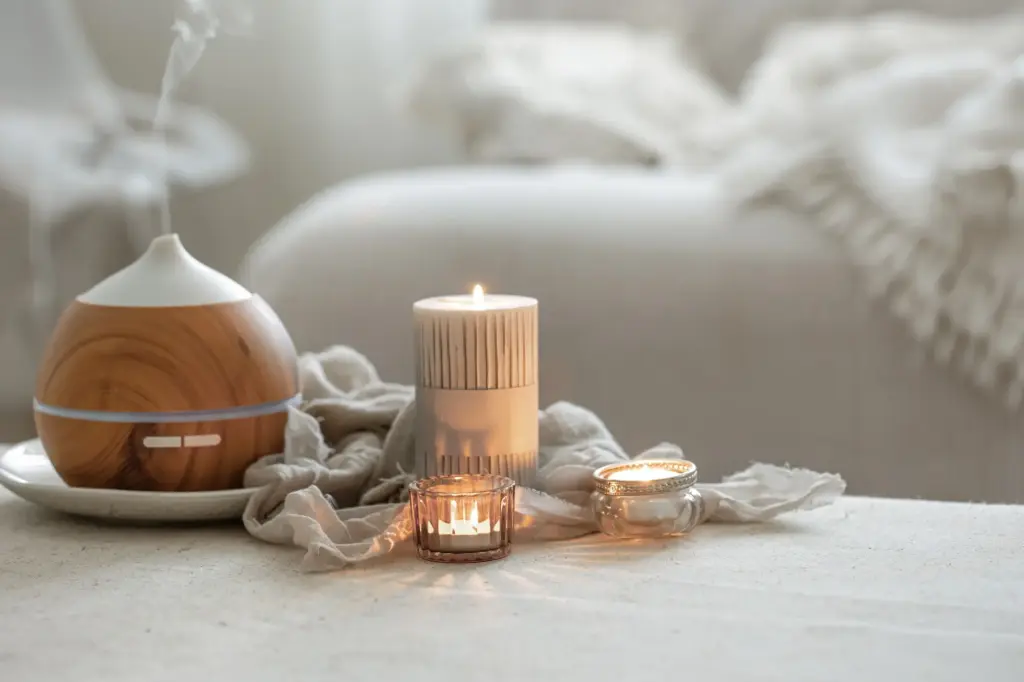
Craft Your Own Mood-Lifting Candles with Essential Oil Blends

Today we’re diving into DIY Personalized Mood Candles with Essential Oil Blends, transforming simple wax, wick, and aroma into an uplifting ritual made uniquely yours. Discover approachable science, soulful creativity, and test-backed methods that help scents support calm, focus, joy, or reflection. Expect stories, practical safety, and recipes you can adapt, plus gentle prompts to journal your experiences and share results so our community can learn together and celebrate every beautifully flickering success.

Mood, Memory, and Scent: The Science Behind Your Glow

Aromas travel straight to emotional centers, which is why a single spark of citrus can brighten a gray morning or a whisper of lavender can slow racing thoughts. Pair this knowledge with mindful crafting and you’ll make candles that feel like companions. We’ll decode notes, discuss consistency, and invite you to observe your reactions, because personal history shapes every inhale. A short anecdote: my first rosemary-lavender blend felt like summer exams and relief, proving memory and emotion always share the same flame.

Safety First, Creativity Second

Beautiful experiences begin with safe habits. Melt wax patiently, ventilate well, and keep a tidy, heat-safe workspace miles away from distraction. Know flash points, read dermal limits, and treat essential oils with the same respect you give a kitchen knife. Pets, kids, and wobbly surfaces complicate everything, so plan carefully. Label candles clearly, burn within sight, and trim wicks. Responsible makers craft more, stress less, and gift creations confidently, knowing care anchors every experiment.

Workspace Setup That Prevents Sticky Surprises

Lay down parchment or silicone mats, designate one pot for wax, and keep a reliable scale, thermometer, and pipettes within easy reach. Pre-warm vessels, center wicks with clips, and clear walking paths. A small fan can help disperse fumes, while a stainless pitcher controls pouring. Place a metal tray beneath cooling candles in case of drips. Finally, keep a notebook open at your elbow, because a good process becomes great when every useful detail is captured.

Handling Heat, Flash Points, and Skin

Essential oils are potent; treat them like concentrated culinary spices that can burn if misused. Wear gloves, avoid eye contact, and wipe spills immediately. Learn your wax’s melt and pour ranges, then add oils at appropriate temperatures to preserve aroma integrity. Remember that flash point refers to vapor ignition, not a magical loss of scent. If you test a blend on skin for ancillary products, follow dermal limits and always perform a patch test beforehand.

Cleaning Up Without Clogging Drains

Wipe pitchers and spoons thoroughly with paper towels or scrap fabric before washing, keeping wax out of pipes. A little heat from a hairdryer loosens stubborn residue, while rubbing alcohol removes oily film. Freeze vessels with stuck wax, then pop it out gently. Dedicate reusable cloths to candle work, label them clearly, and store together. Sustainable habits save money, protect plumbing, and convert post-session chaos into a short, predictable, almost meditative routine.

Tools and Materials That Make Candles Behave

Choosing materials is like casting a play: wax, wick, vessel, and blend each carry a role. Soy or coconut may cradle soft florals, while beeswax adds golden warmth and patient burn times. Wicks shape flame size and soot production, and jars influence airflow. Scales, thermometers, and heat-safe pitchers deliver repeatability. Add a heat gun for surface fixes and wick trimmers for care. When the ensemble cooperates, performance feels effortless and every flame delivers its promise.

Wax Choices and Why They Matter

Soy often offers a creamy look and approachable throw, while coconut blends can amplify scent and smooth tops. Beeswax burns longer with natural sweetness but may soften delicate florals. Paraffin delivers strong throw, yet some prefer more plant-based options. Consider availability, sustainability goals, and how each wax holds essential oils. Start with small test batches, compare hot throws over several burns, and choose the personality that best supports your desired mood and storytelling.

Wick Sizing Without Guesswork

Diameter drives wick choice. Manufacturers’ charts help, but testing in your exact vessel is decisive. If tunneling persists, size up or consider double-wicking wide jars. If mushrooming appears, trim between burns or size down. Wax type, fragrance load, dye, and vessel shape all nudge performance. Label test candles clearly, burn in cycles with consistent intervals, and log flame height, melt pool rate, and soot. A well-matched wick turns fragrance potential into reliable ambience.

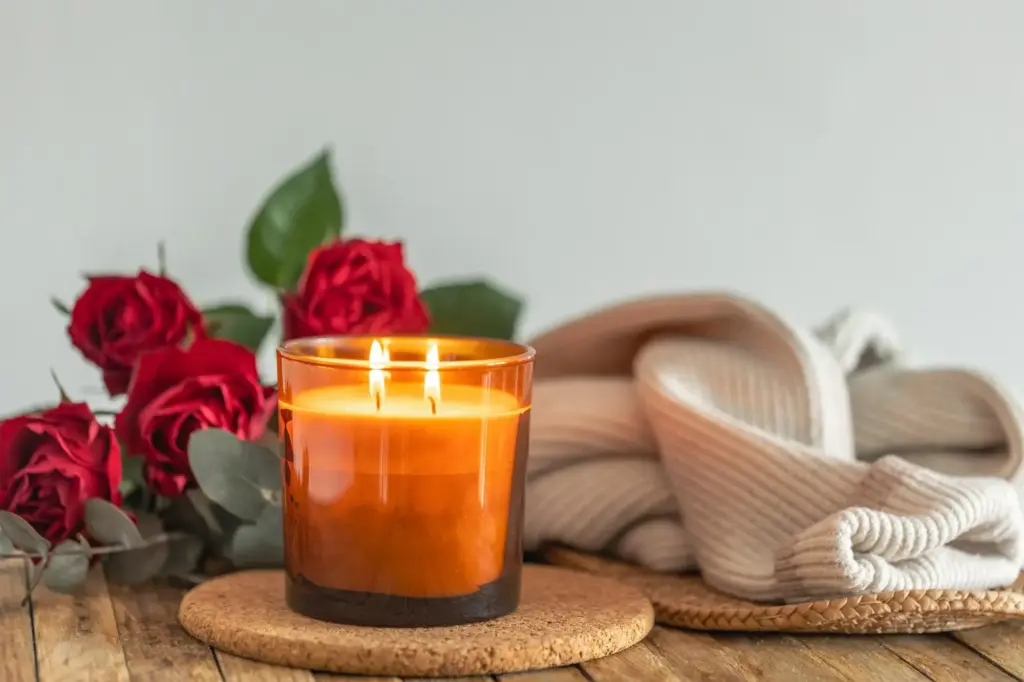
Blending Essential Oils for Distinct Moods

Structure helps creativity flourish. Think in top, middle, and base notes, then consider safety maximums, oxidation tendencies, and longevity in wax. Rotate anchor bases like cedarwood or benzoin for stability, sprinkle bright tops for lift, and weave a middle that sets character. Store oils cool and dark, date your bottles, and note batch variability. Start with modest percentages, then scale thoughtfully. Your nose and notebook will become partners guiding each small, enlightening adjustment.

From Melt to Pour: A Smooth, Repeatable Process

Consistency turns occasional wins into reliable magic. Measure by weight, track temperatures, and give the blend time to bloom in warm wax before pouring. Pre-warm vessels, secure centered wicks, and pour with calm hands. Surface texture improves with thoughtful timing and patience during cool-down. Curing deepens character, so resist haste. Finally, test burns reveal truths notebooks cannot guess. Every observation, including imperfections, becomes a stepping stone to candles that behave beautifully, night after night.

Temperature Timing That Protects Aroma

Melt wax gently, avoid scorching, and add essential oils within a temperature window your wax tolerates—often around the lower side of the pour range for delicate notes. Stir slowly yet thoroughly for even distribution. Ignore myths about flash points evaporating scent instantly; focus on solvent behavior and reasonable handling. Maintain consistent room temperature to prevent frosting or sink marks. With steady rhythms and mindful patience, you preserve brightness, body, and the graceful arc of every note.

Pouring, Wicking, and Preventing Sinkholes

Warm vessels reduce temperature shock, pour steadily to minimize bubbles, and leave a touch of headspace for lids. If minor sinkholes appear, a gentle heat-gun pass can level the surface. Recheck wick centering after pour; slight shifts change burn character. Let candles cool undisturbed away from drafts. Later, trim wicks to a sensible length and test in cycles. Small adjustments today prevent tunneling tomorrow, giving your blend the open, even platform it deserves.

Curing, Testing, and Logging Results

Allow several days for molecules to settle into the wax matrix, then conduct staged burns at consistent intervals. Observe melt pool diameter, flame height, soot, and scent presence over time. Record room size, air movement, and your mood, because perception shifts with context. Adjust wick, vessel, or ratio methodically and retest. With each candle, your logbook becomes a compass pointing toward dependable results, teaching patience as surely as fragrance teaches memory and meaning.

Personalization, Ritual, and Gifting with Heart

Your candle can hold a message, color, and story that feel like home. Name blends after moments you crave—Sunday Quiet, Bright Desk, Gentle Return—and craft labels that whisper intention. Choose jars that match spaces you love and create lighting rituals: a breath, a wish, a sentence you repeat. When gifting, include a handwritten card with burn guidance. Then share outcomes, ask questions, and invite feedback. Community turns solitary sparks into a constellation of warm light.